In my mind its just not Christmas without the tree or a fresh wreath on my door. I love to decorate my doorway at Christmas and making a wreath is part of that tradition.
Yes I know that you can buy a ready made one or even an artificial one, but hanging something you have made yourself is so satisfying and really not too difficult to do.
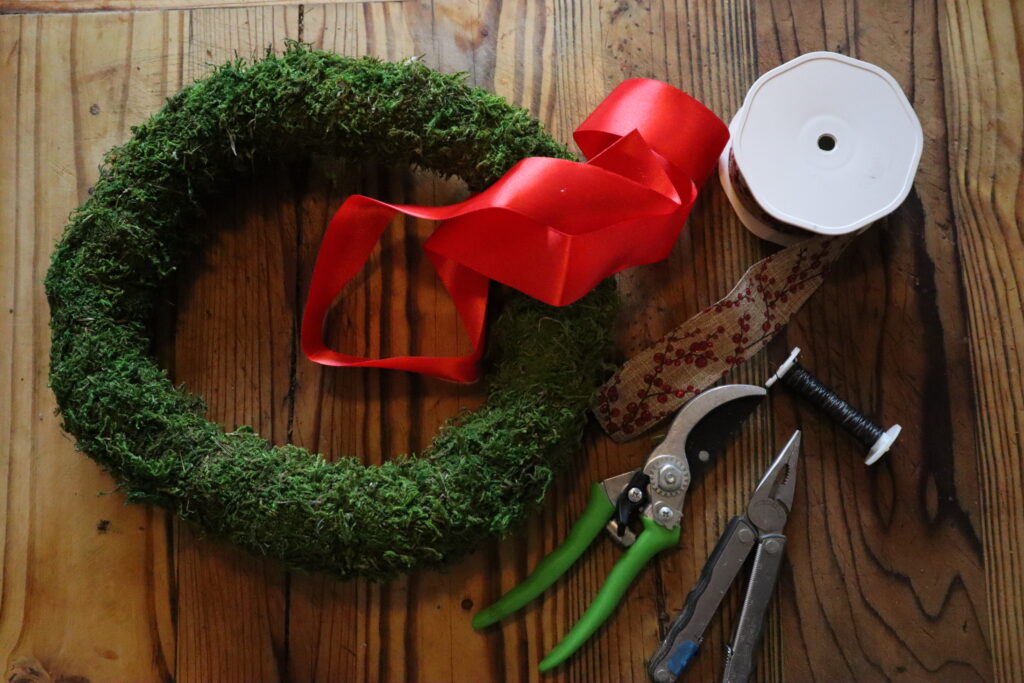
First you need to collect your basic supplies. You will need a wreath form. I like to use the moss covered ones, but the wire ones work just as well. You will need a little more foliage to cover the wire ones, but they still work beautifully.
You will also need to gather up your tools. You will need some secateurs for cutting your foliage, and some wire cutters for cutting the wrapping wire at the end. You will also need some florist wire and ribbons, decorations or pine cones you might want to add.
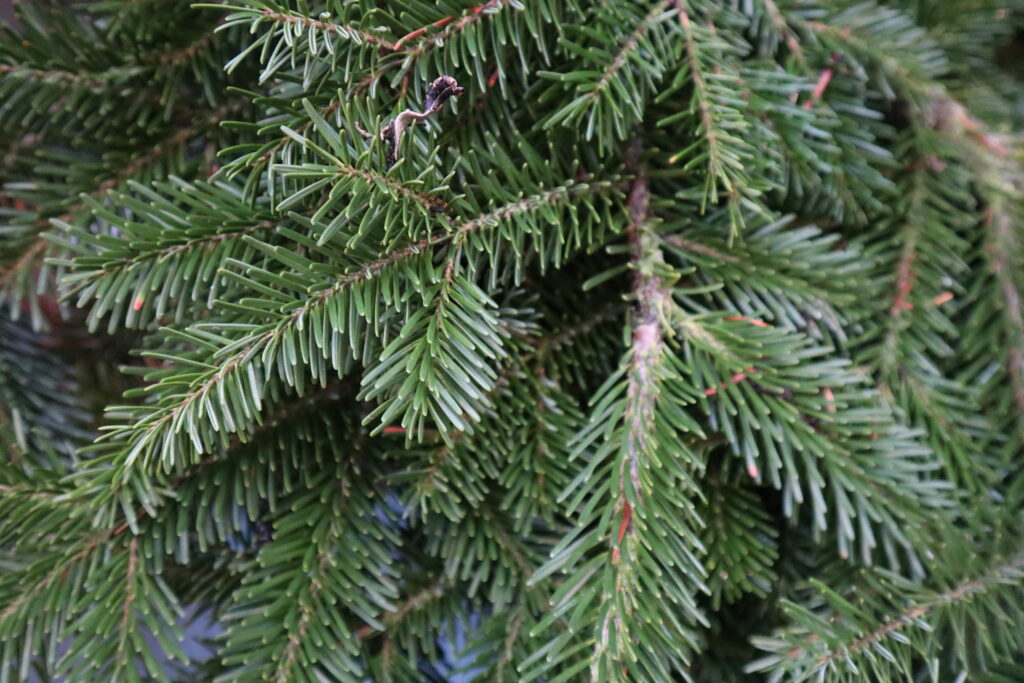
The base for any good wreath is Christmas tree tips. I love to use Nordman pine because the needles are softer on the hands, the smell beautiful and they hold their needles really well. Any type of pine will work though and most garden centres or tree growers will have these available if you don’t have one growing in your garden.
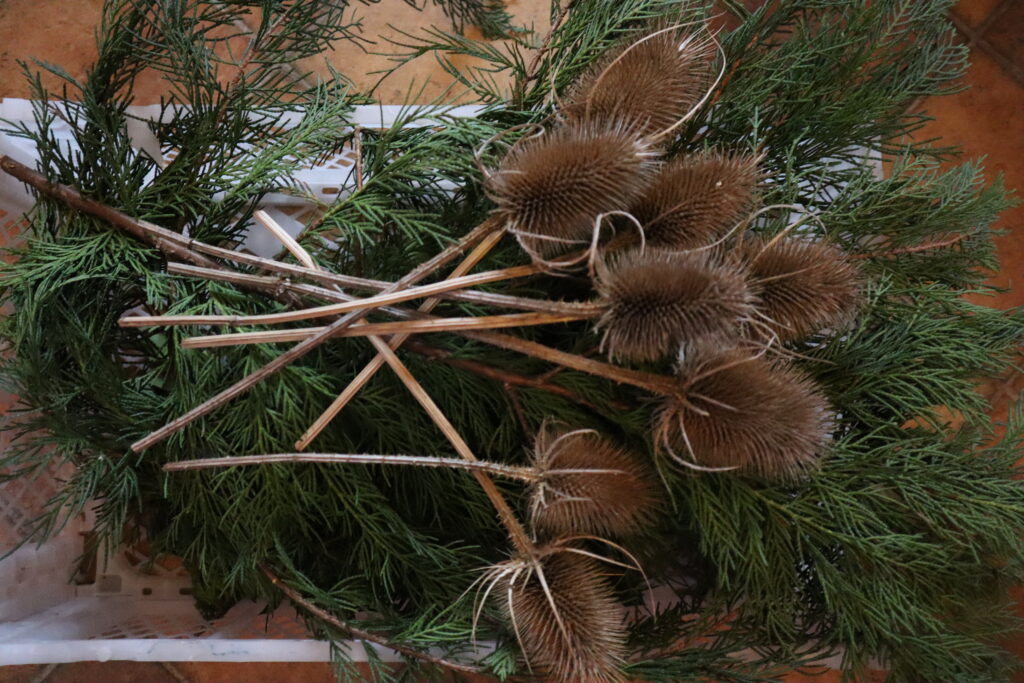
Next its time to go foraging in your garden for other foliage to give interest to your wreath. This year I have cut some thistle heads, but Im not sure my fingers will thank me later. The are gorgeous though!
- First you will need to cut your foliage into manageable size sprigs and put together a small bunch with all the elements you have.
- Be careful at this stage how big you make your bunches as this will determine how big your finished wreath will be.
- Once you have made up your bunch you have a choice. You can either wrap a little wire around your bunch and make up as many bunches as you expect to need for your wreath, or you can wire directly to your wreath form, skipping this step.
- Take your wire and wrap it tightly around your wreath form to secure it.
- Taking your bunch of foliage, lay it on your wreath form where you stared the wire, so that it angles outwards slightly. Taking your wire, wrap it tightly around the bunch and form, securing the bunch in place.
- Wind your wire around the form a little lower and place your next bunch.
- The second bunch should lay on the form so that it covers the wire holding the first bunch and again, angled outwards slightly.
- Wrap your wire securely around the second bunch and then continue in this way until you reach all the way around.
- Once you have worked all the way around and you are happy with your wreath, cut off your wire leaving around 10″ of wire.
- Wrap your wire tail rod and around until it is secure.( I like to thread it under another wire to tie it off) than poke the sharp end into the wreath base.
- Now is the time to add the fluff and sparkle. You can use your wire to tie on extra decorations, or even use a hot glue gun if you like. Its your wreath so do what makes you happy. You can even spay it with fake snow or gold paint to add extra drama.

I like mine to be traditional so I tend to go for natural foliage and maybe a ribbon. I have seen some beautiful wreathes with dried oranges that look stunning. These need to be in a sheltered spot because rain will make the oranges go mushy and fall off, but if you have a porch then they work great!

Happy wreath making. I hope you will share your creations with me and have fun in the process.
Happy Christmas
Sam x


1 thought on “Wreath Making”
Comments are closed.