
This year is flying by and it’s already April. Easter is only a few days away so I decided to brighten up my entrance way with a cute Easter wreath. It is super easy to make, just like the Christmas wreath I made before. So follow along and learn how to make an easy DIY easter wreath for your front door.

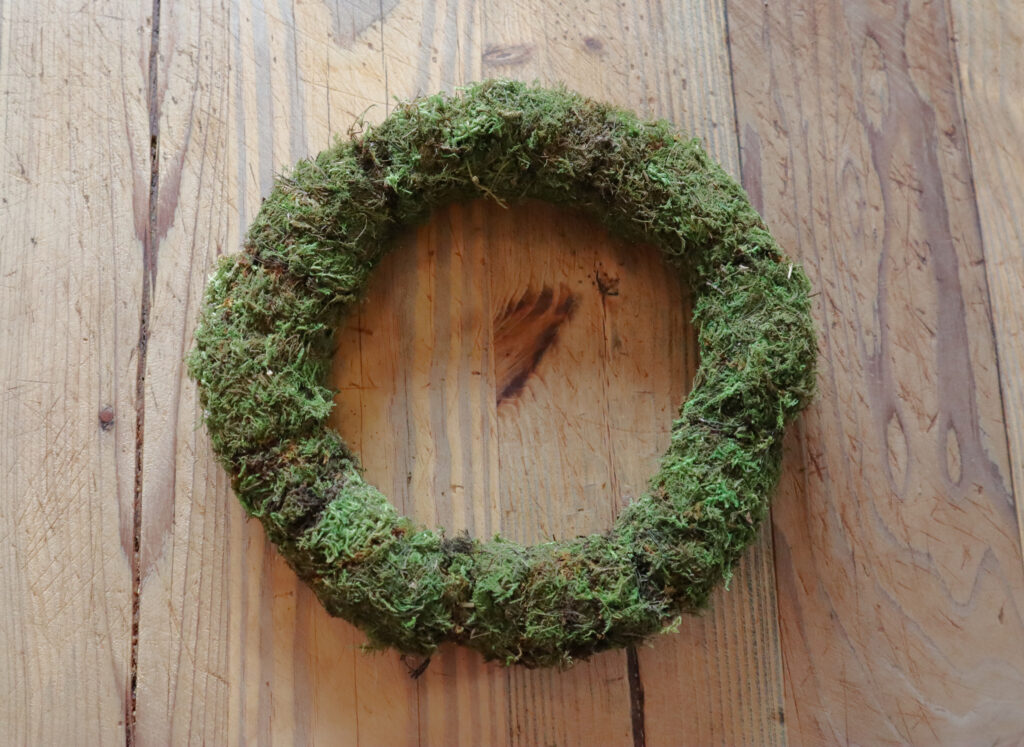
This wreath uses a moss wreath base, but you can use the vine type too.
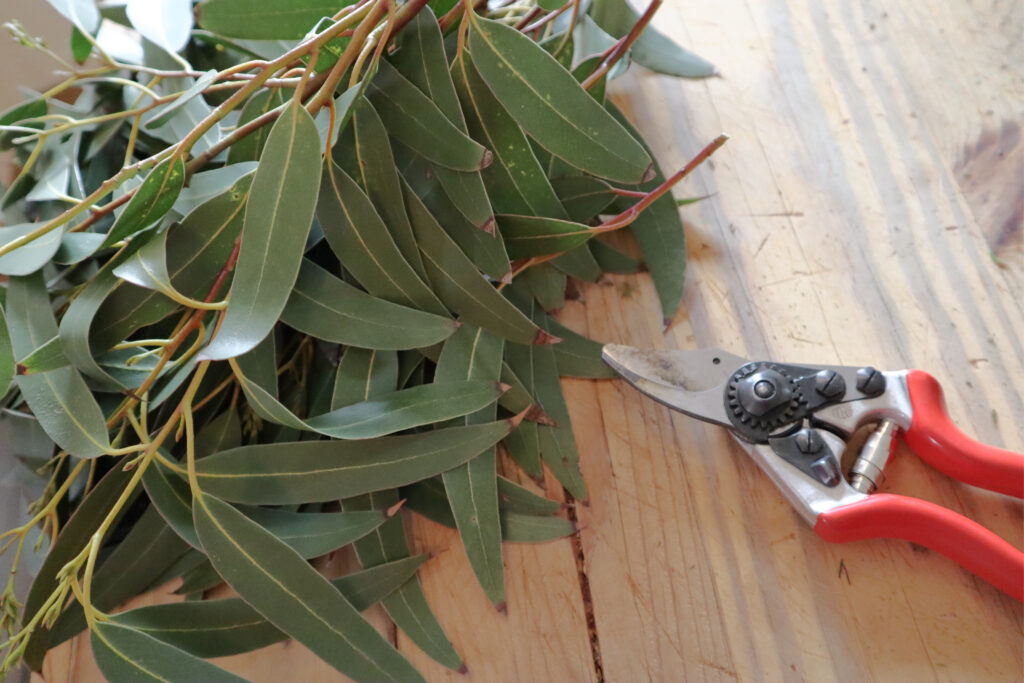
Then I raided the greenery in the garden and the eucalyptus trees specifically. I love the colour of the eucalyptus leaves for this project, but you can use whatever is in your garden for free or buy artificial foliage from craft shops or online.
This post contains affiliate links, meaning, at no additional cost to you, I will make a commission if you click through and make a purchase. You can read more Here
The Bunny was something cute I found on Amazon here
Supplies for this Easy DIY Easter Wreath
Directions for making an Easy DIY Easter Wreath
Step 1.
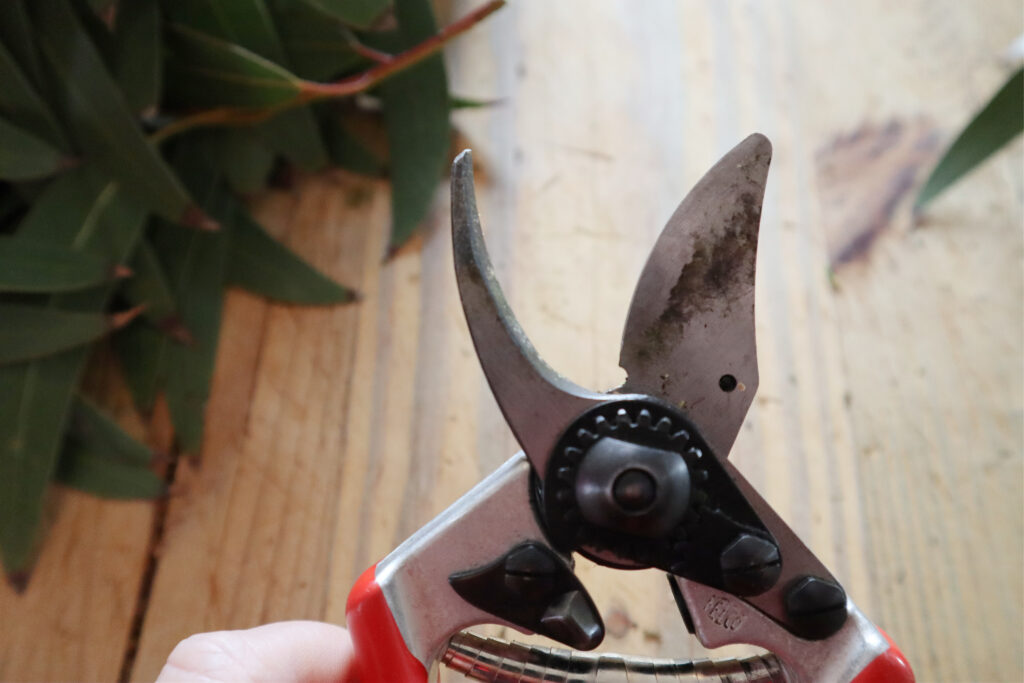
Strat by snipping bunches of eucalyptus or your chosen foliage and wrapping wire around the bunch to hold in place. Make enough bunches to cover the full circle of the wreath. For this job I love my Felco 6 secateurs because they make light work of the branches and have a special notch in the blade for cutting wire so there is no need to keep changing tools.
Step 2.
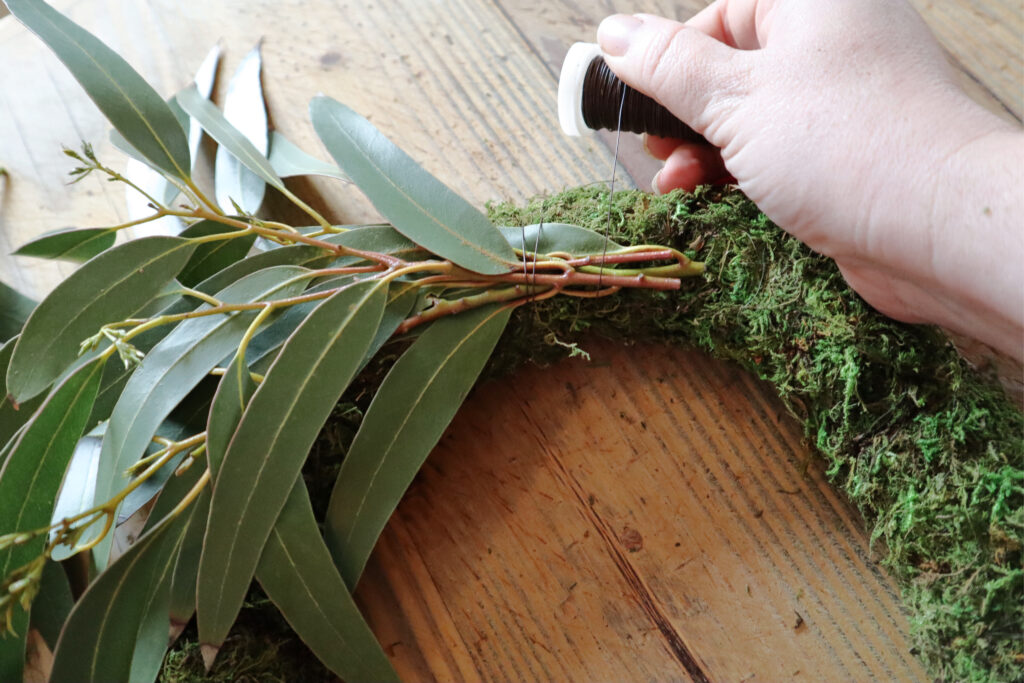
Wind the florist wire around the wreath base a few times to secure it in place. Take the first bunch of foliage and lay it on the wreath base, angling it outwards where you have started the wire off.
Wrap the wire around the bunch and base securing them together in place.
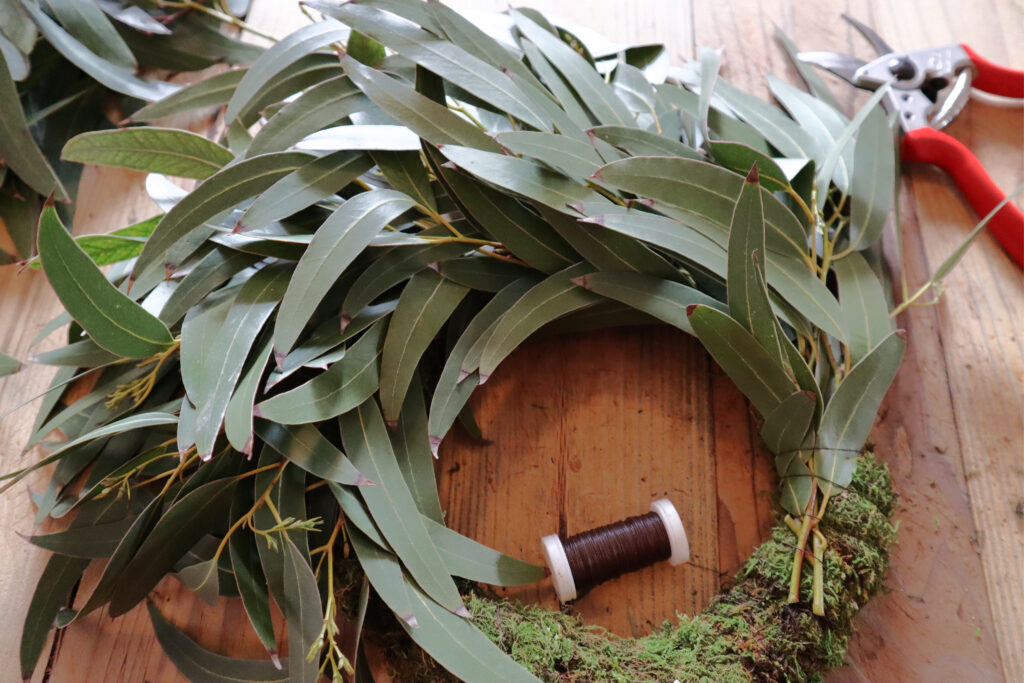
Now lay the second bunch on the wreath base so that is angled out and covers the part of the first bunch that has the wire attached. Wrap the wire around the second bunch as you did the first and continue this process all around the wreath base until it is completely covered.
When you get back to the first bunch and the wreath is covered wrap the wire around the base a few times to secure and cut the wire leaving around 5″ to secure around the back. Loop the tail of the wire around the wires in the back of the wreath and poke it into the base to finish off.
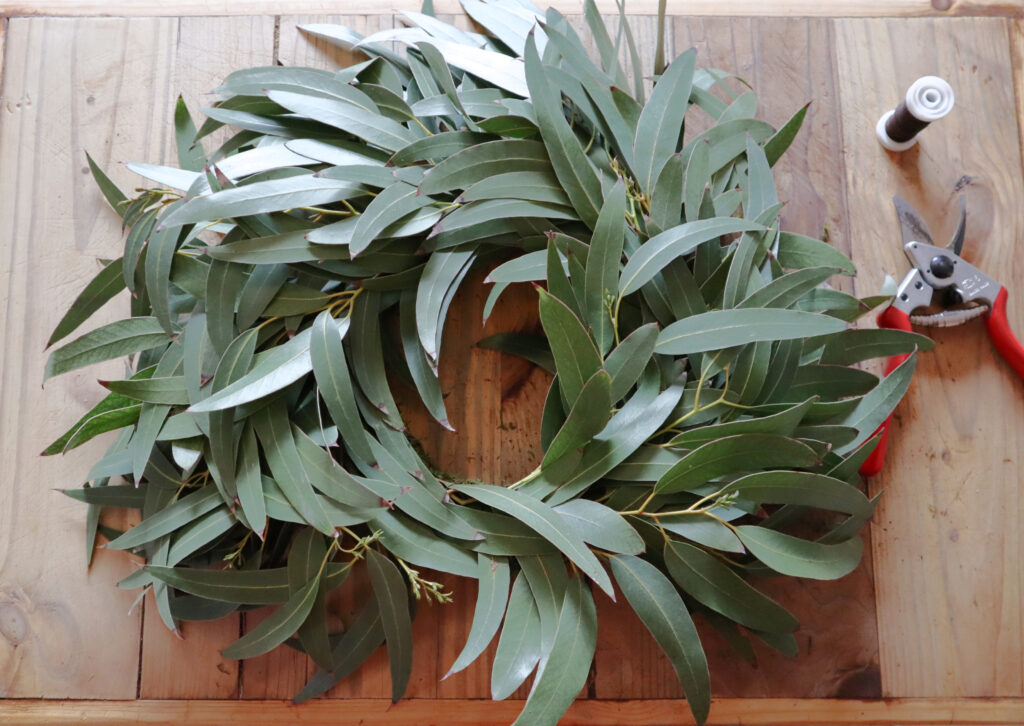
The Base is complete
Step 3.
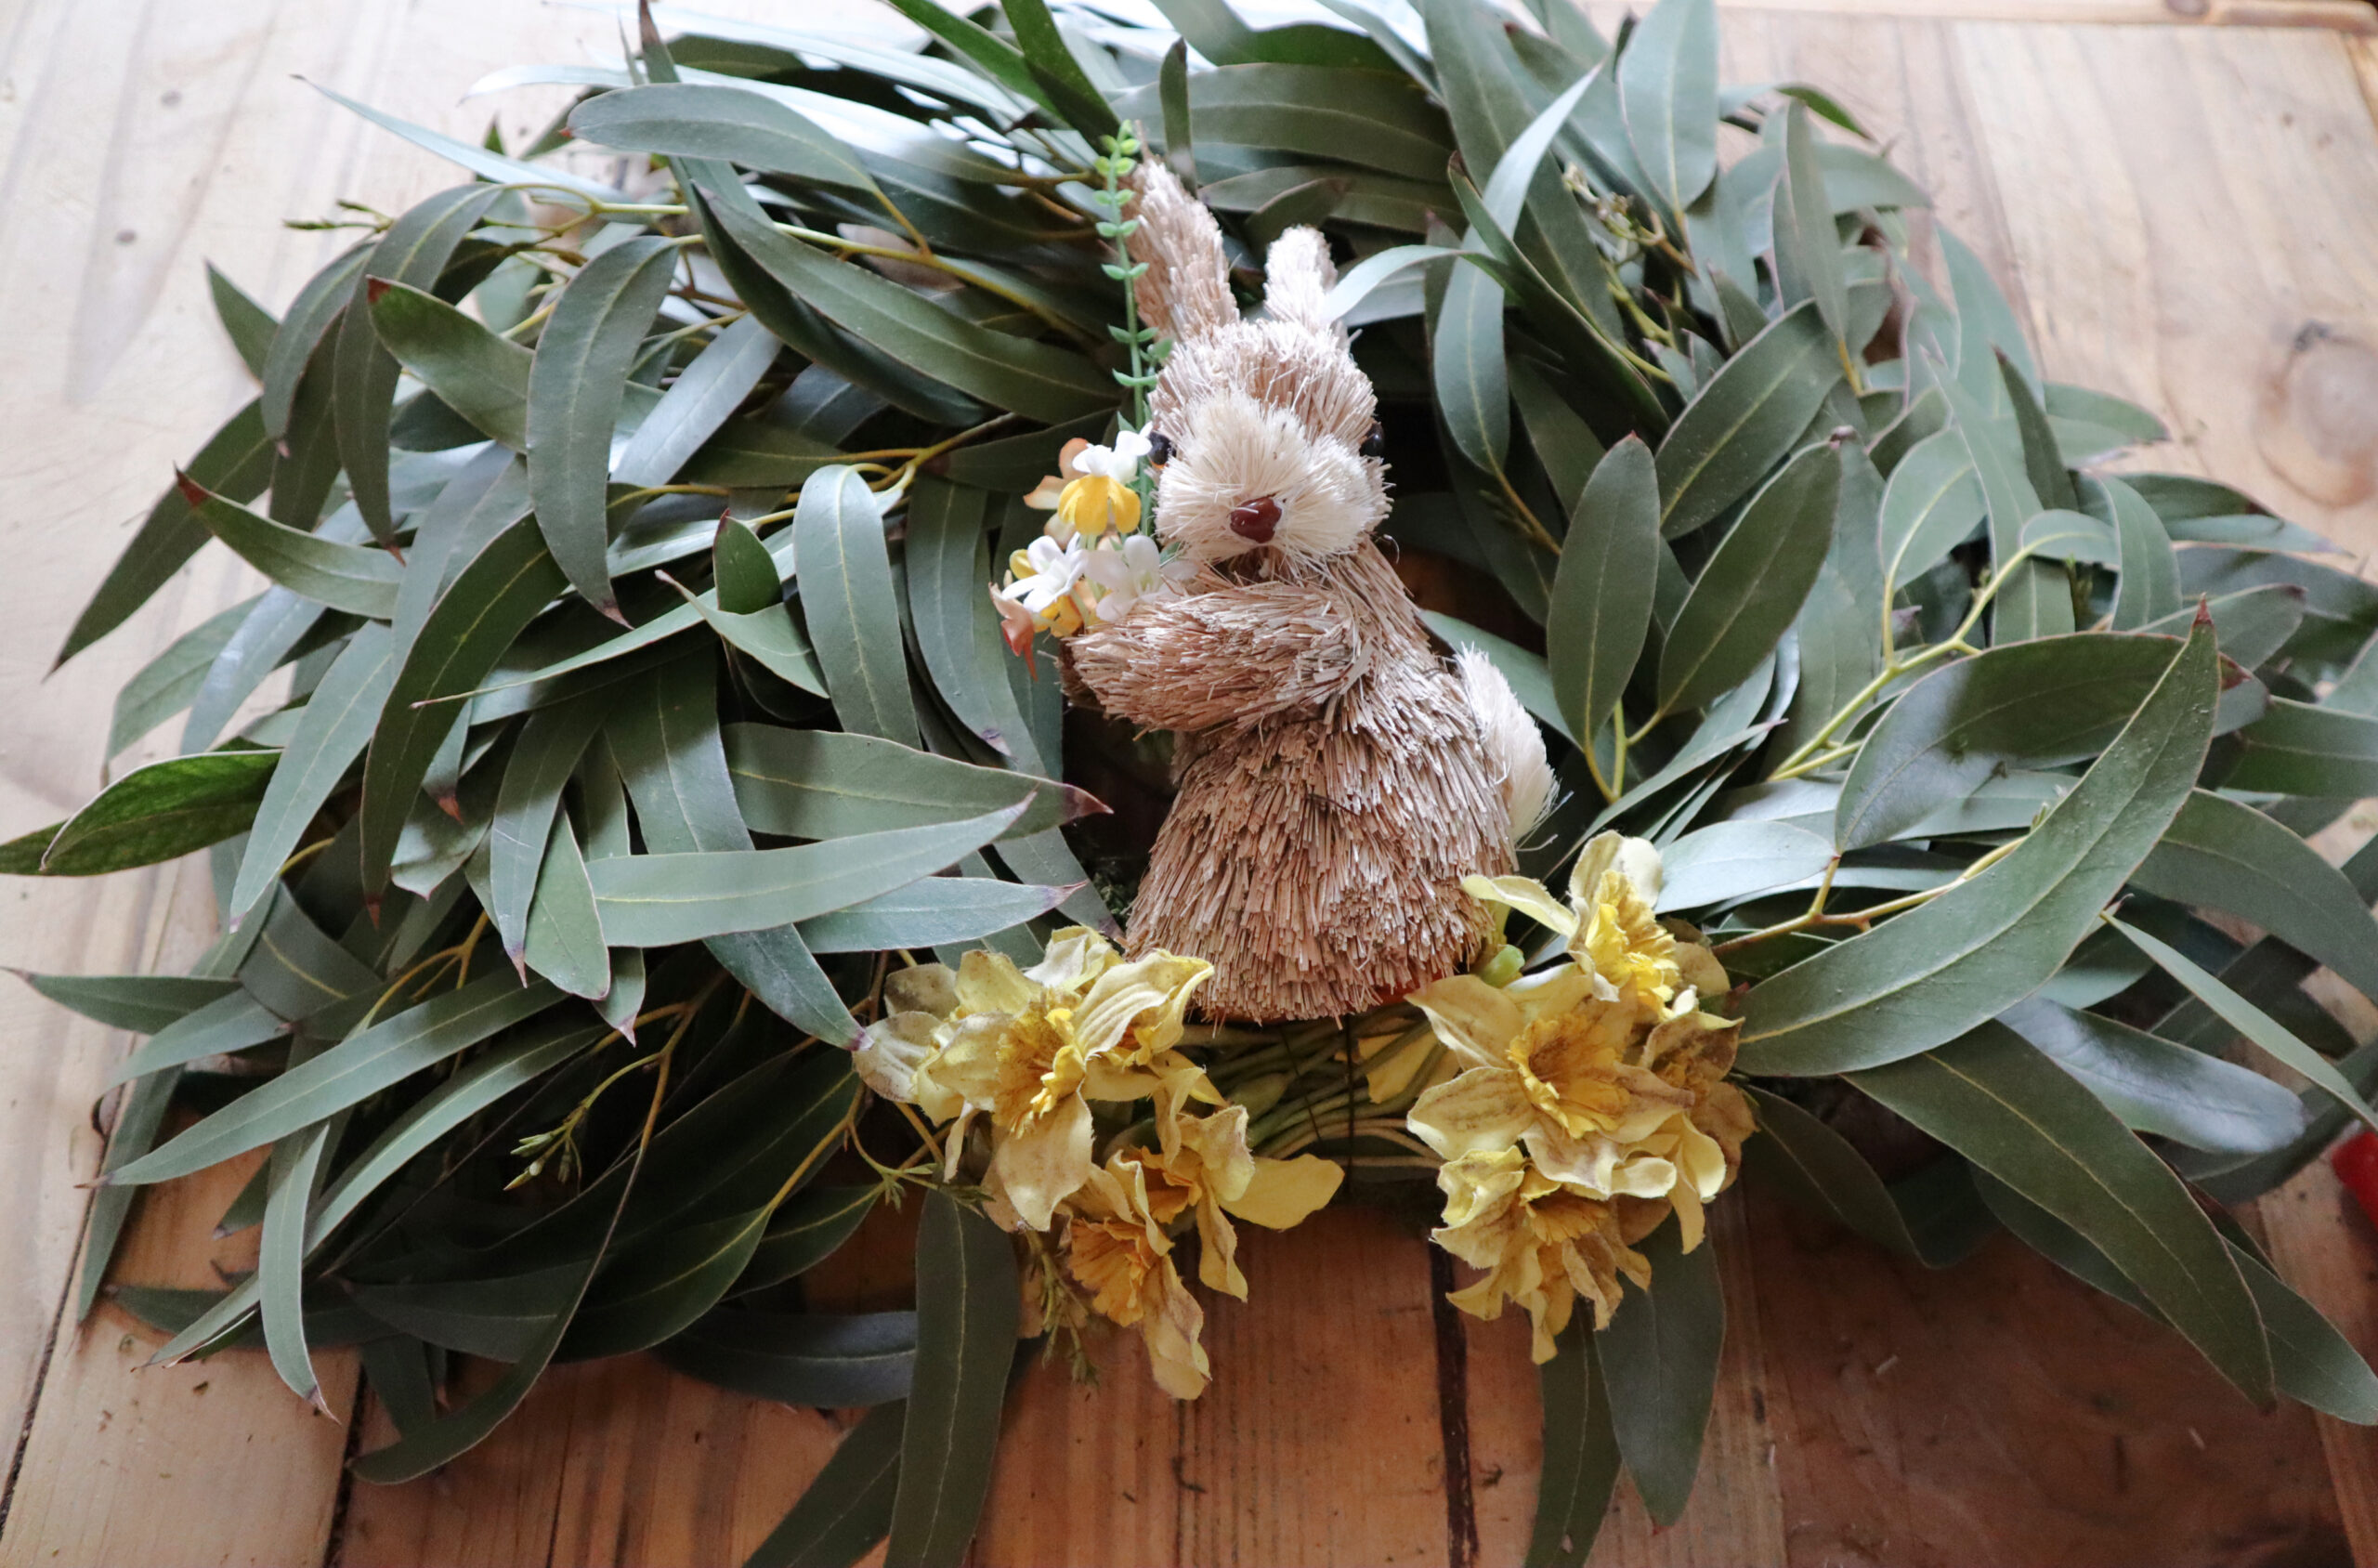
Now for the decorations. The Bunny is my focal point, but you can use eggs, flowers or just a bow. It’s your wreath, let your imagination run with it.
Taking a length of wire around 15″ long a wrapped it around my bunny’s tummy. I tucked it under the straw to disguise it. I sat the bunny on my wreath where I wanted him to sit. Then using the tails of the wire to secure him to the wreath base.

You could leave it at that, but I decided to add a little more to it. I raided my silk flower stash for some pretty daffodils. I attached them in the same way by wrapping wire around them into a bunch. Then using the tails of wire to secure them to the wreath.

Step 4.
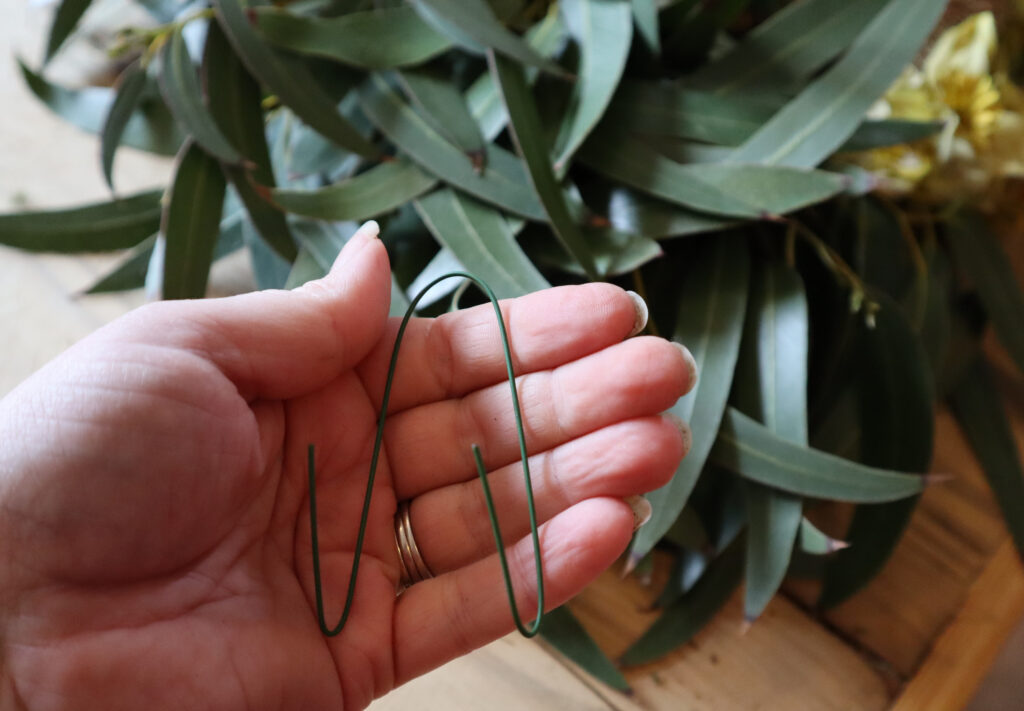
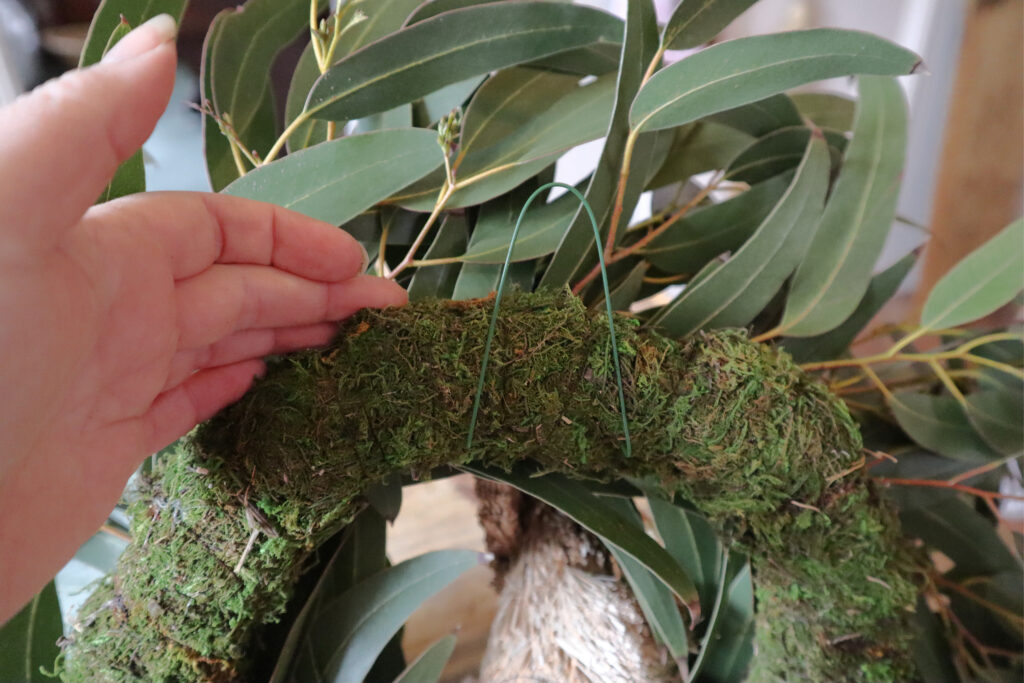
To hang the wreath you have a couple of options. Firstly you can hang with a pretty ribbon looped around the top of the wreath. This adds an extra pretty accent to the wreath, or you can make a wire hook with a piece of stub wire
I personally prefer the stub wire as it stops the wreath spinning and keeps the focal point at the place you want it to be. Plus I had some left over from Christmas wreaths.
Finished Easter wreath pictures
My door is open to the weather as I have no porch cover. This means that I needed to make sure it was very well secured or I will be chasing it across the field and into the next village.

I hope you enjoy making a wreath for your door. The same process can be done for any season so why not make a different one for Summer and Autumn too.
See you soon friends
Happy making and happy baking
Sam x