This is an easy beginners guide to making sourdough bread. I will teach you step by step how to bake a tangy, chewy and perfect loaf.
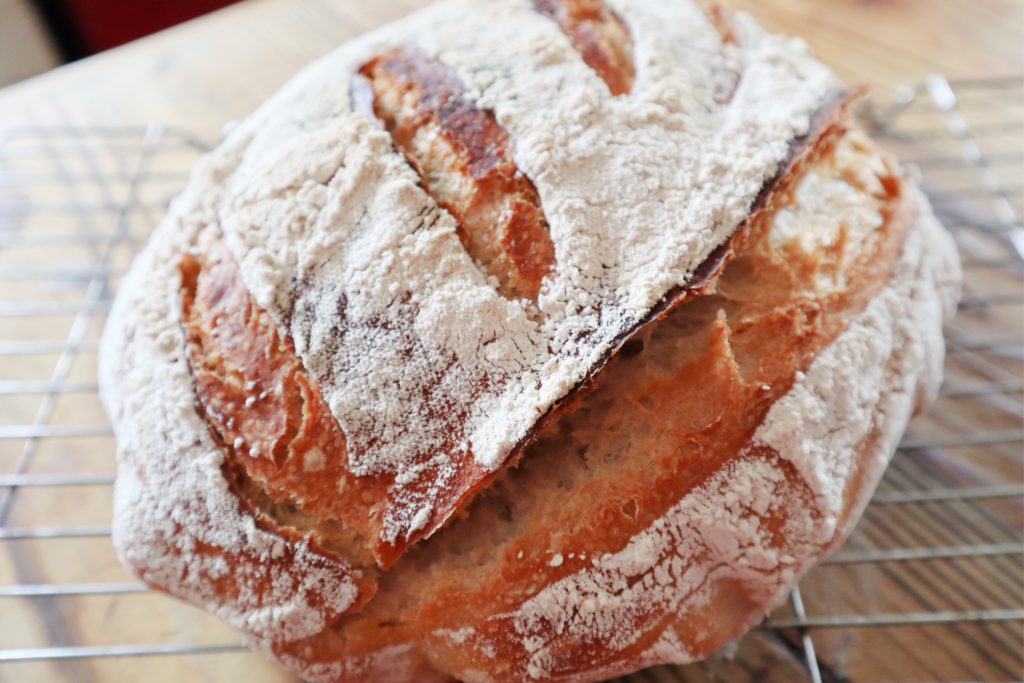
Sourdough is time consuming, but is actually very low in labour. There is hardly any ‘work’ involved at all. Most of the time spent is waiting for the fermentation process.
A sourdough loaf is a relaxed way of making bread. There is no strenuous kneading involved. Just a lift and stretch every 15 mins for 1 hour. Thats the bulk of the work done.
With most of us working from home at the moment, this is a great little project to get perfected. This beginners guide to making sourdough bread will show you step by step how I make my loaves. I usually make my dough the evening before. I combine this with cooking dinner. It can then sit on the counter until morning. I cover it with a clean tea towel.
A sourdough loaf is different from most bread products as you don’t use commercial yeast. For this type of bread your rising agent is a sourdough starter.
I have written a post on how to make your sourdough starter. You can read it here:
Because of the long fermentation process of this type of bread, the protein and gluten is broken down and is much easier to digest.
Beginners guide to make sourdough bread -Step by step.
1. Prepare your starter
This is a beginners guide to making sourdough bread so I will take you right from the beginning. The morning before you want to bake your loaf, you will need to feed your starter. As I mentioned in my previous post on how to make your starter, you need to discard and feed your starter like a bready pet. I like to make pancakes with my discard. By the time you come to making your dough in the evening, your starter will be nice and active.
2. Prepare your dough.
THE ingredients for this recipe are as follows:
- 500g all purpose flour (strong white bread flour)
- 10g salt
- 350g cool water
- 80g fed sourdough starter
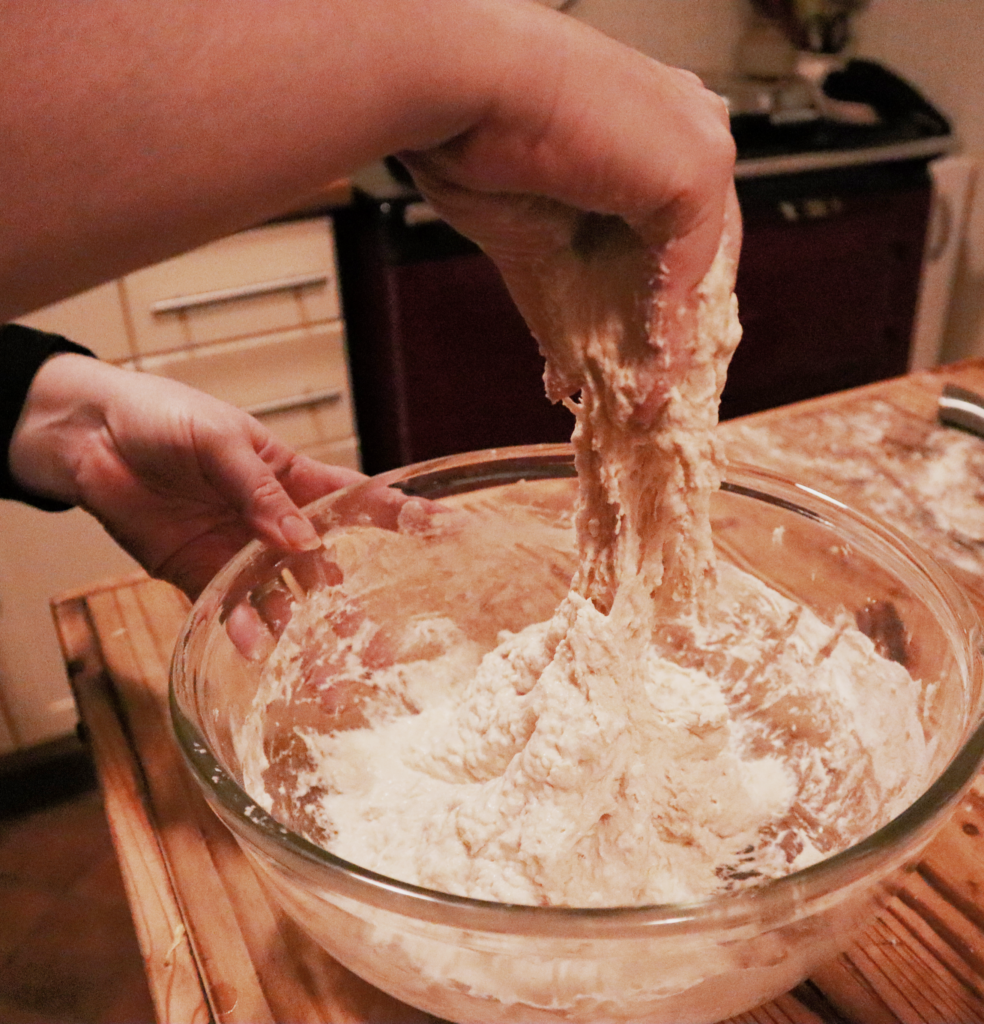
Combine the flour, salt and water first into a dough to begin the autolyse process. Next add in the starter and work it in with your hands.
The dough will be very sticky when at first. This part of the process is just to mix the 3 ingredients together. The dough will look more like a traditional type dough once the lift and fold process takes place. When the ingredients are all fully combined, cover with a tea towel and leave it to rest for 15 minutes.
3. Lift and fold.
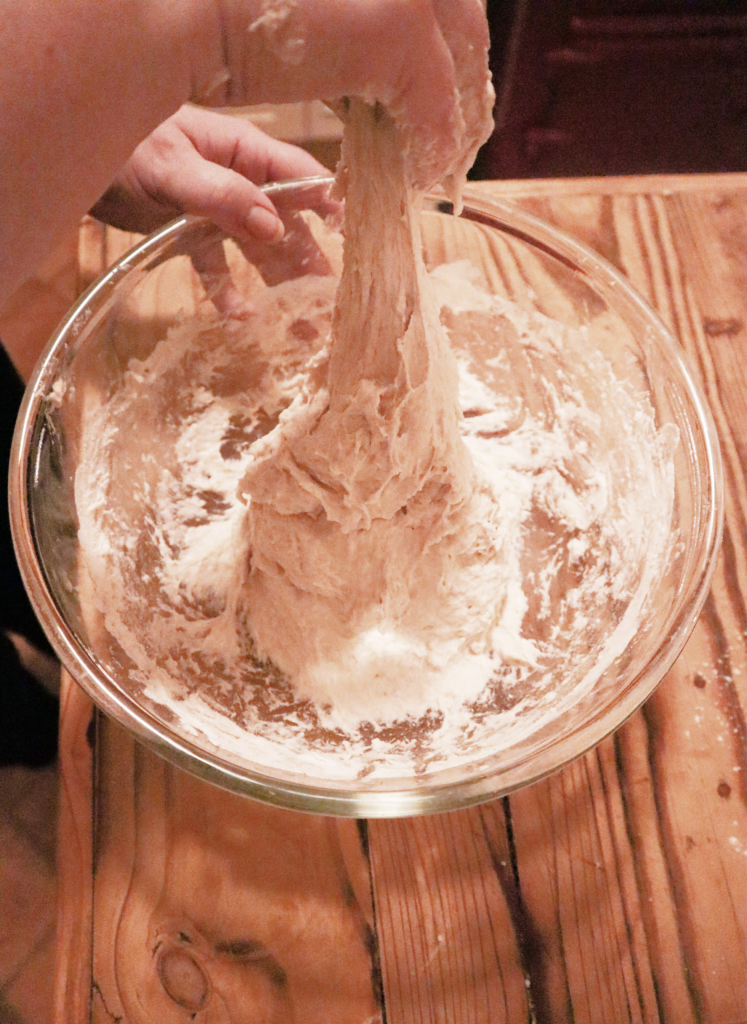
Lift and folding the dough gets the gluten working in the bread and makes it nice and stretchy
After the resting period the dough should have started to break down the starches in the flour. This will start to develop the flavour and textures of the sourdough bread.
Now it is time to begin the stretch and fold technique. Starting at 12 o’clock on your bowl, grab a handful of the dough and stretch it upwards. Now fold it over to the 6 o’clock position and tuck it in.
Work your way around the bowl in a similar fashion going from 1 o’clock to 7 o’clock. Now continue to 2 o’clock – 8 o’clock etc working around the clock.
4. Rest and work
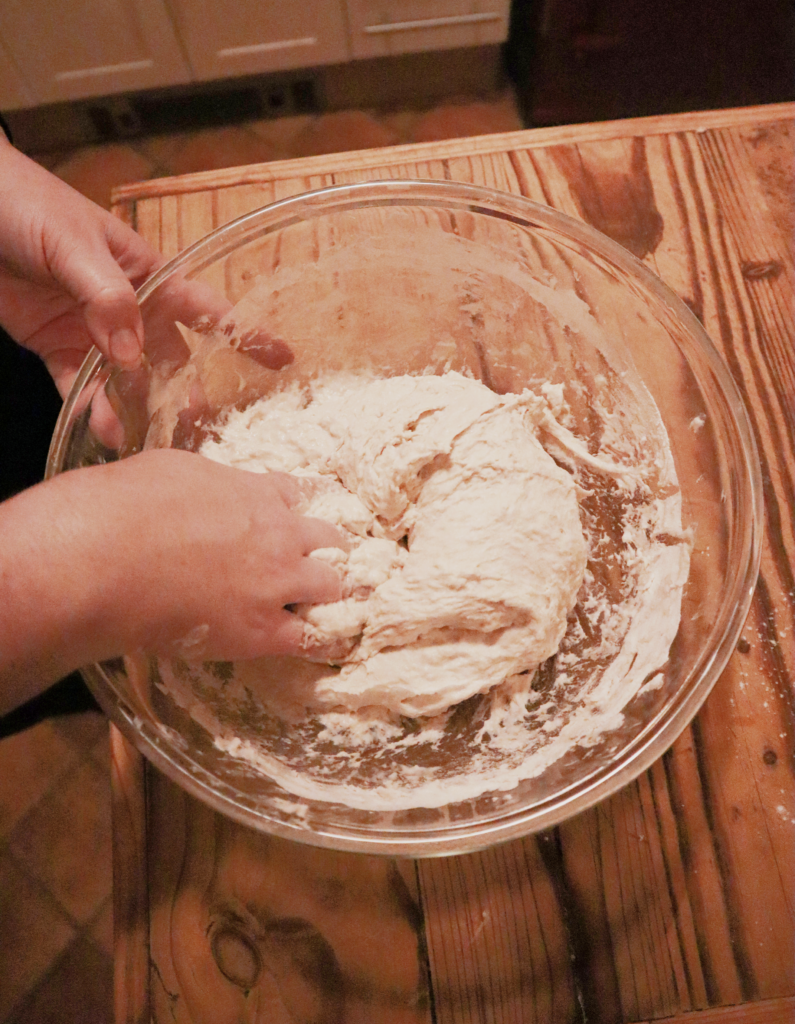
This rest and stretch process should be repeated every 15 minutes. Lift and stretch the dough. Rest for 15 minutes. Repeat 4 times. Now cover over it over with the tea towel and rest overnight.
The more the gluten is activated the more bubbly your finished loaf will be. If you prefer a more dense loaf, handle it less at this stage.
5. Shape your loaf.
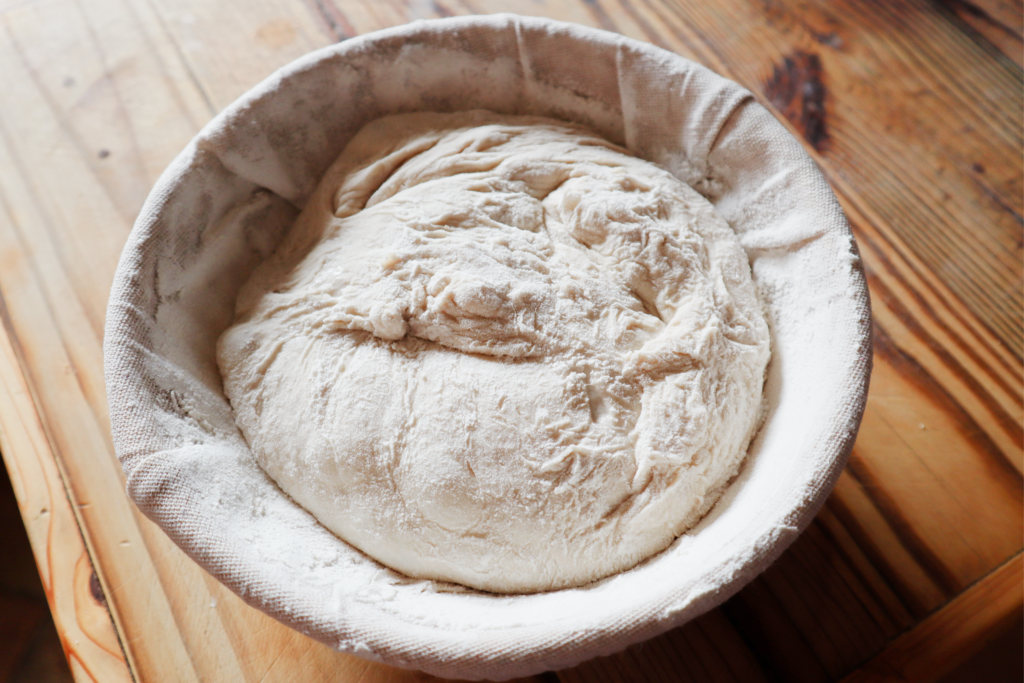
In the morning you dough should be nice and bubbly in the bowl. Now is the time to turn it out onto a lightly floured surface.
This is where you will shape the dough into its finished shape.
Stretch the top two ‘corners’ of the dough out, up and then cross over each other. Grab the section just underneath and do the same again. Continue down until you reach the bottom ‘corners’.
Now you should have a long ‘plait’ type of shape. Grab the bottom two corners and roll upwards. Keep rolling up until you have a nice ‘bun’ shape.
Dust your Proofing basket with a lot of flour. The last thing you want is for the dough to stick after all this work. Now throw in a little more flour just for good luck.
Dust the dough with flour and gently put the ‘bun’ shaped dough into the proofing basket. It will need to rest again in the proofing basket for at least an hour.
You can test if the dough has finished proofing by giving it a little poke. If it is ready the finger mark should rise back up slowly. If it doesn’t rise up, leave for a bit longer. If it rises up quickly it has over proofed. This should be monitored as it will all be dependant on how warm your room is that you are proofing in.
6. Bake your loaf
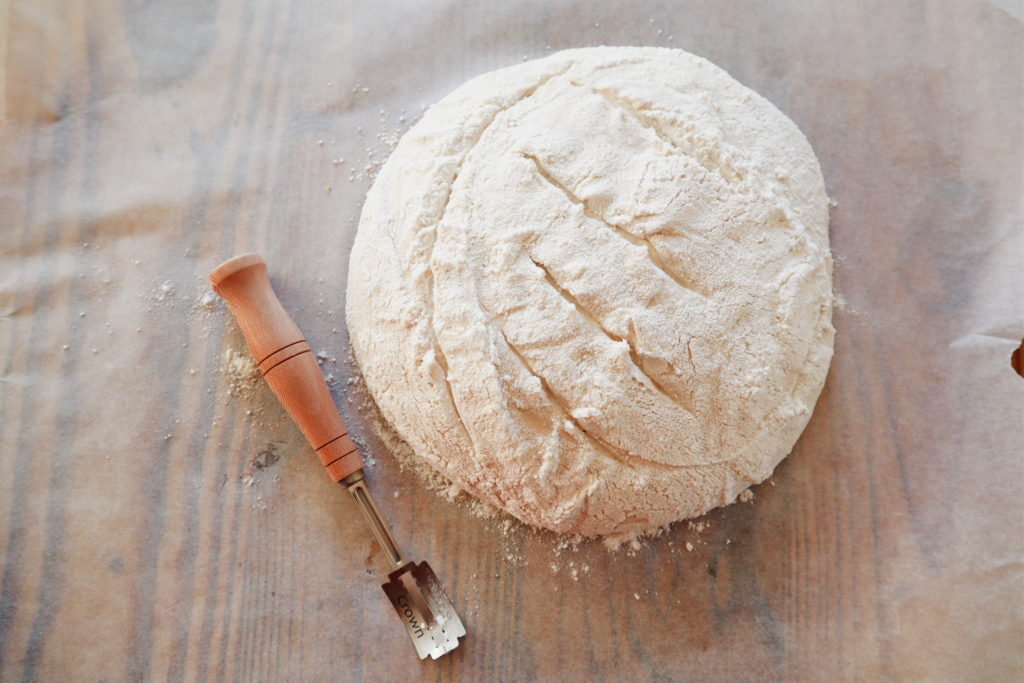
Once the proofing period is over, the dough should be very gently turned out of the basket onto a piece of greaseproof paper. I like to put the paper on top of the basket and then using my hand for support, turn it over.
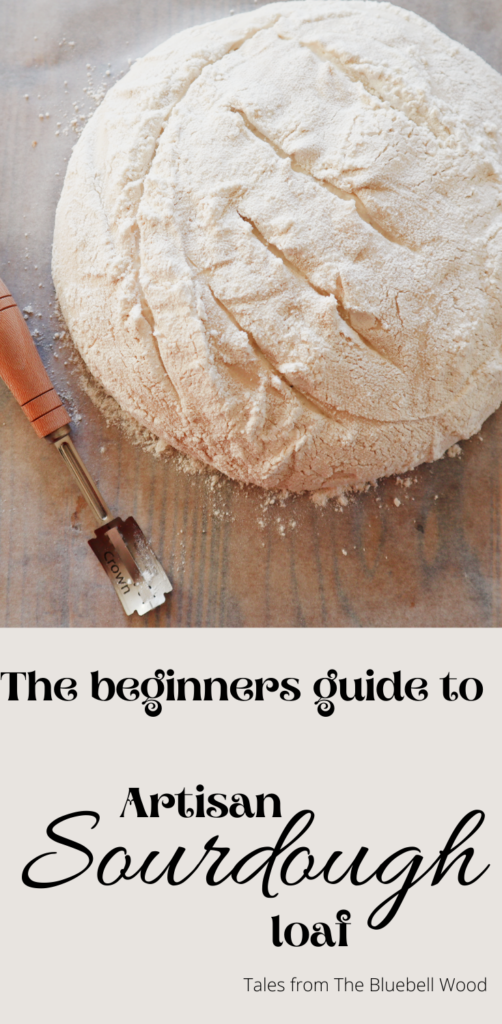
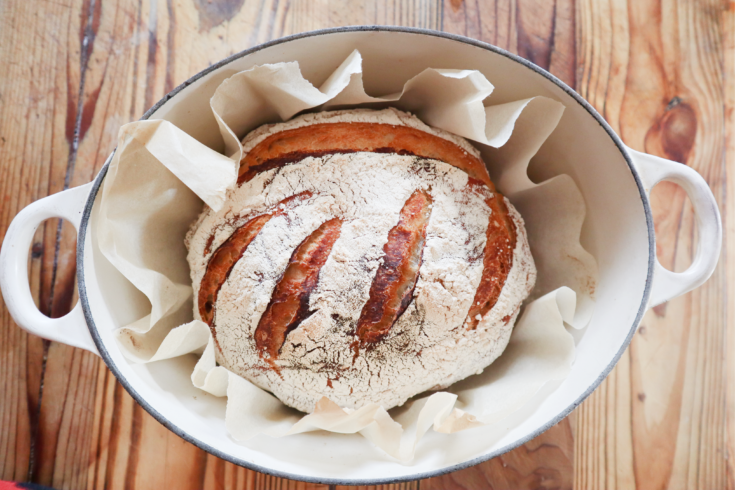
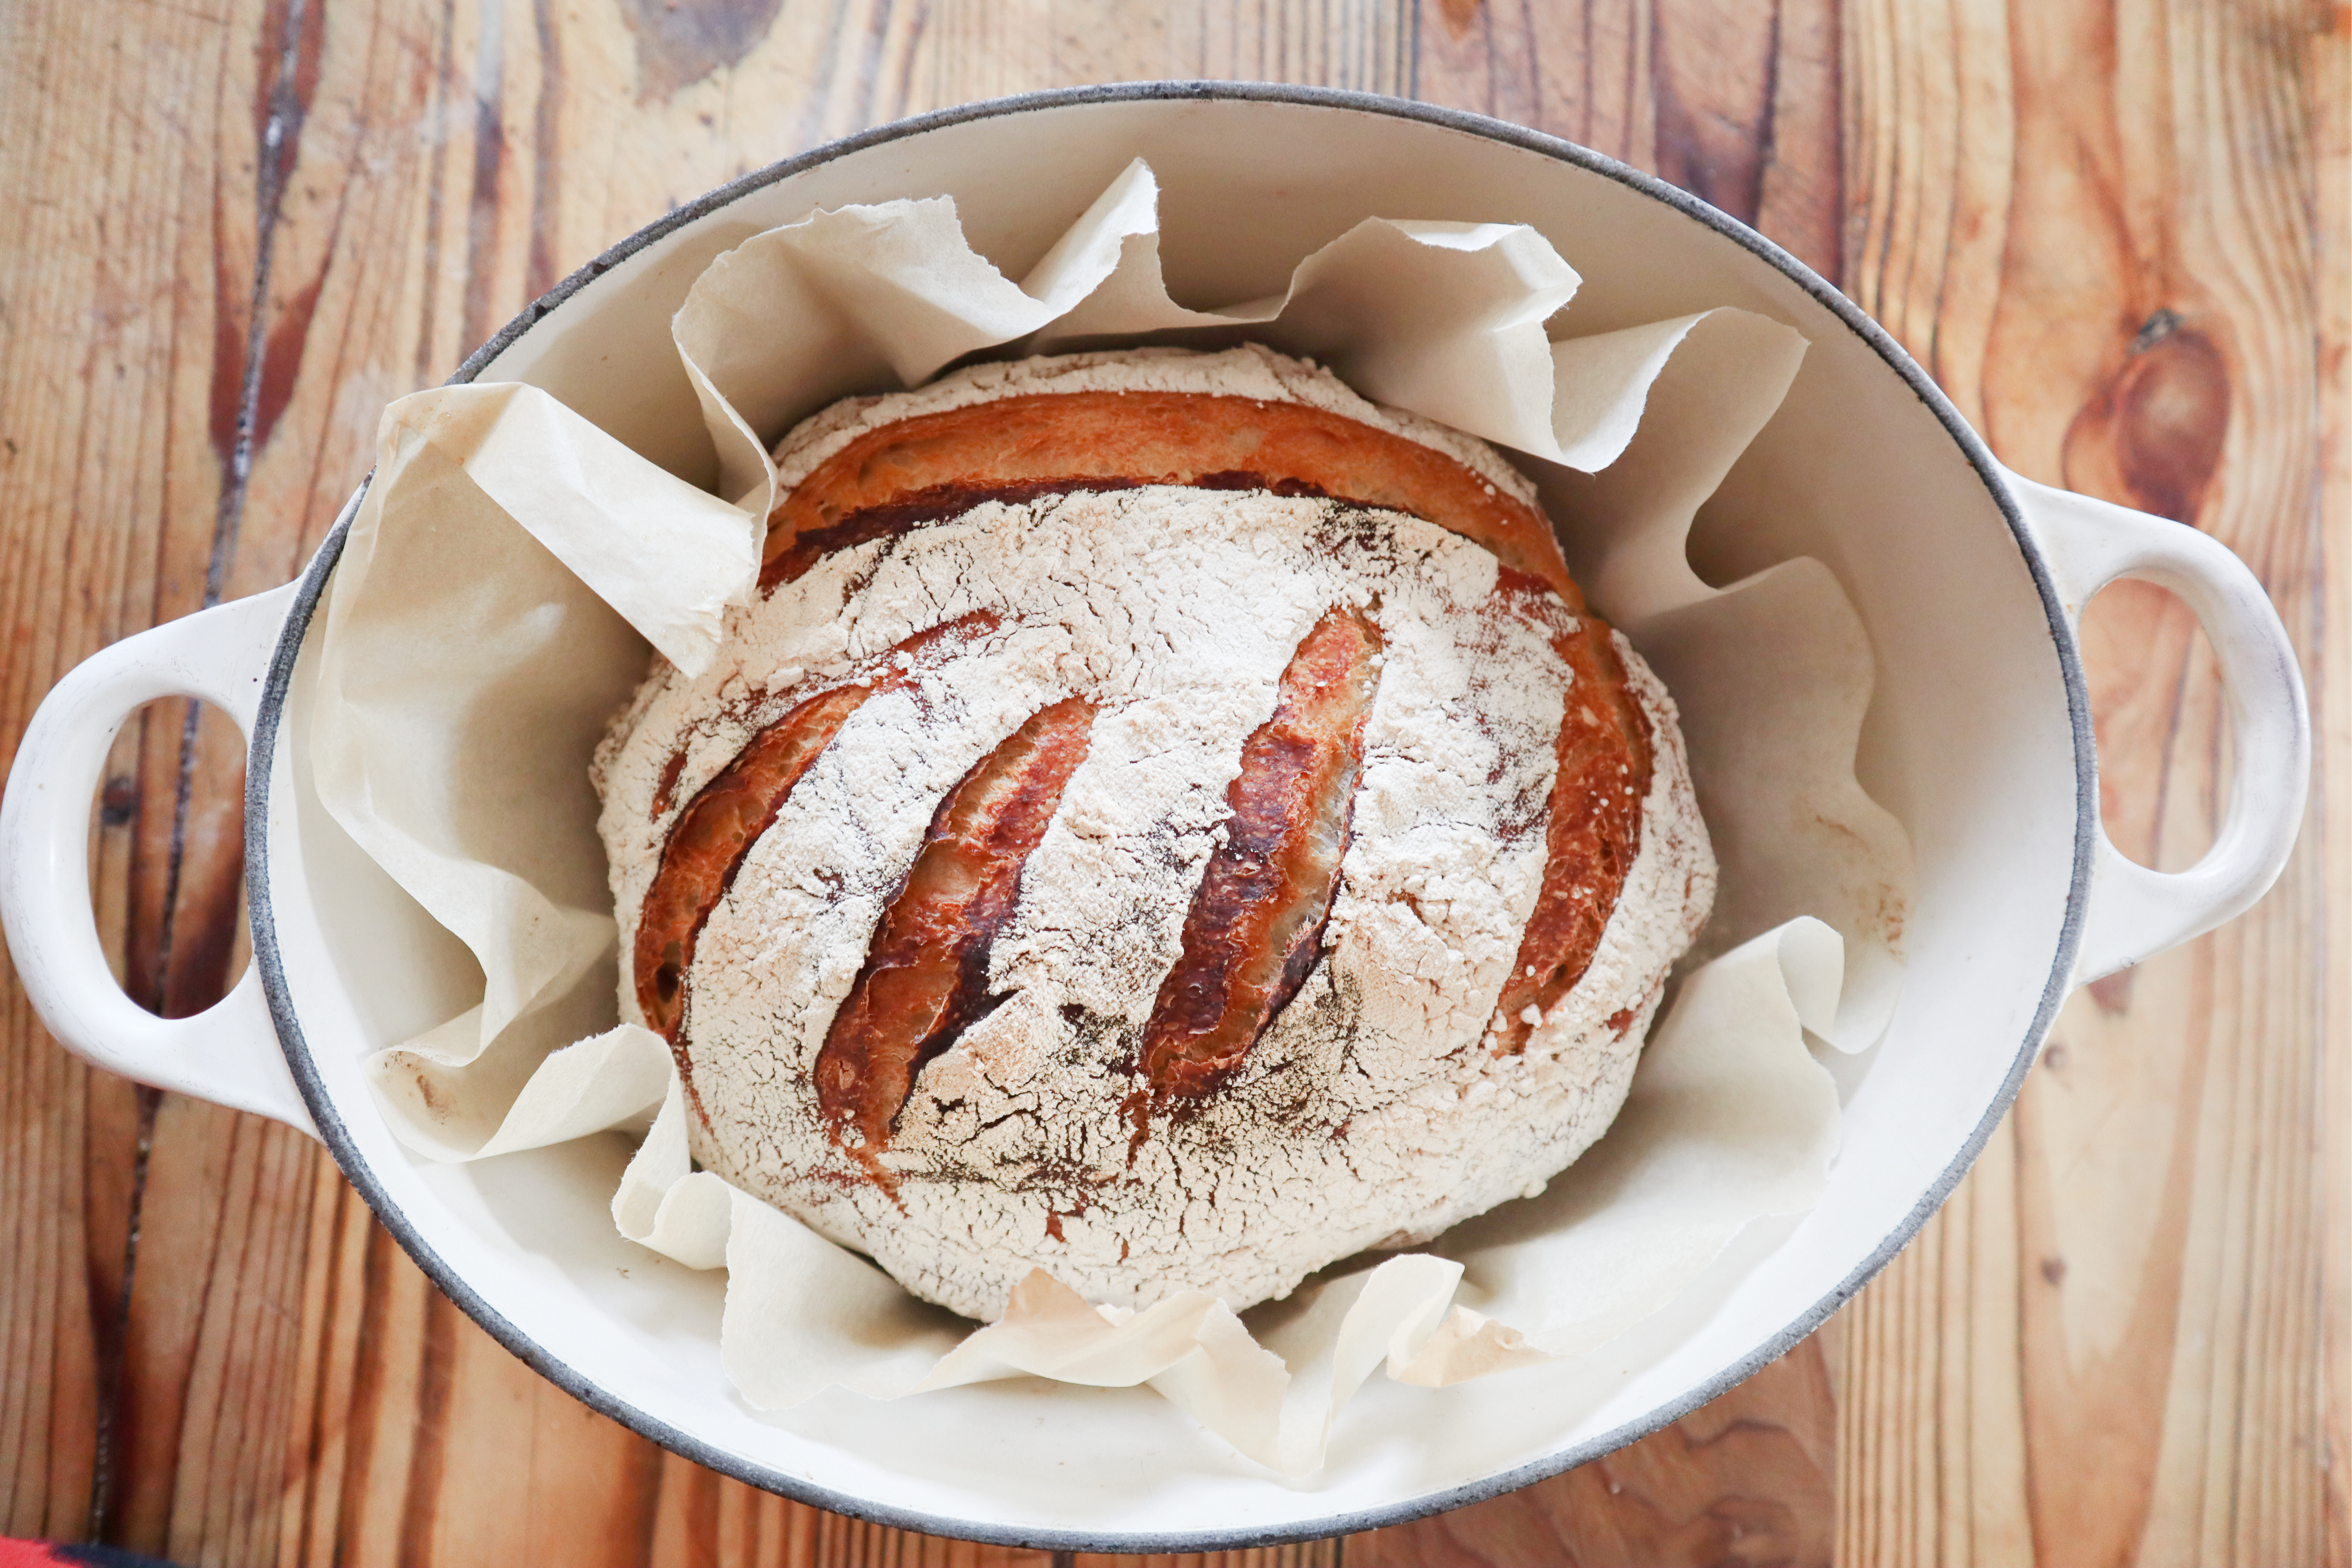
Now it has been successfully turned out of the basket, the top will need to be scored with a sharp knife or dough blade. This not only makes the finished loaf look beautiful, but it gives the loaf room to rise in the oven.
Lift the loaf carefully into a prewired dutch oven or cast iron casserole dish with a lid.
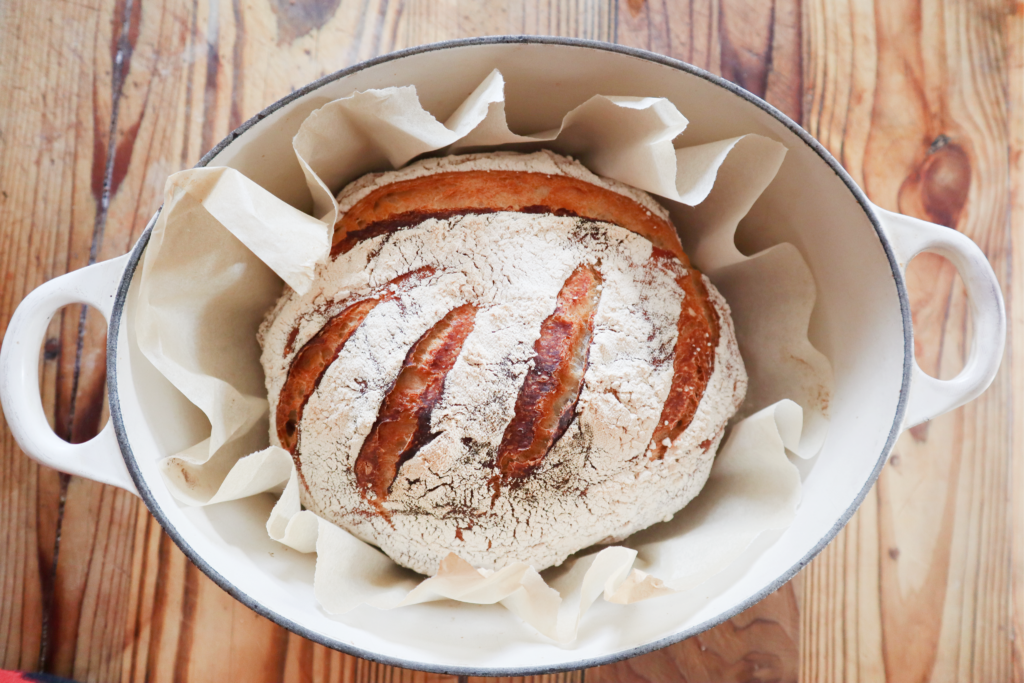
- Bake in the hottest temperature your oven can manage with the lid on for 30 minutes.
- Remove the lid and bake again for 20 minutes.
- If you are baking in an Aga you can either lift out the dutch oven and partially replace the lid for 20 minutes to crisp up the crust or leave it as it is for a softer crust.
- If you are baking in any other oven, switch off the oven and open the door a crack for the same time as above to crisp up the crust.
7. Cool down

As tempting as it is to dive straight into that delicious loaf, restrain yourself. This will require the restraint of a kung foo master, but is absolutely necessary.
NEVER EVER CUT INTO A HOT LOAF OF BREAD!
It need this last hour of cooling down to finish firming up inside. If you cut into it now there will be a gooey mess inside and it will break your heart.
Now go enjoy your delicious homemade artisan bread. Yes, on paper it seem complicated, but you will find that you will wizzes through it and find out how easy it really is.
This post contains affiliate links, which means I make a small commission at no extra cost to you.
SHOP THIS POST


I hope you will enjoy making this artisan bread loaf. I have many more sourdough recipes to come so I hope you will join our mailing list to be kept in our little community. As a thank you, you will receive a FREE Menu planning printable.
Happy Baking
Speak soon
Sam x
Artisan Sourdough Bread
A Beginners guide to Making Sourdough Bread
Ingredients
- 500g Strong white bread flour
- 10g Salt
- 350g Cool water
- 80g Fed sourdough starter
Instructions
- Combine flour, salt and water to begin autolyse.
- Add in the starter and combine with your hands
- Rest for 15 minutes .
- Perform the lift and stretch process then rest for 15 minutes .
- Repeat 4 times
- Leave to rest overnight
- Turn out the dough onto greaseproof paper and score the top of the dough to allow for rising.
- Carefully lift the paper and dough into a preheated dutch oven or cast iron casserole dish with a lid.
- Bake with the lid in the hottest temperature your oven can manage for 30 minutes.
- Remove the lid and bake for a further 20 minutes.
- Turn off your oven and open the door a crack to allow the crust to crisp up.
- lift out of the dutch oven and cool for at least 1 hour before cutting into the loaf.
Notes
Different flour mixes can be substituted for different flavour or texture, but the water flour ratio may change if the different flour is more absorbent.

1 thought on “Beginners guide to making Sourdough bread”
Comments are closed.